How To Set Up Templates In Gmail
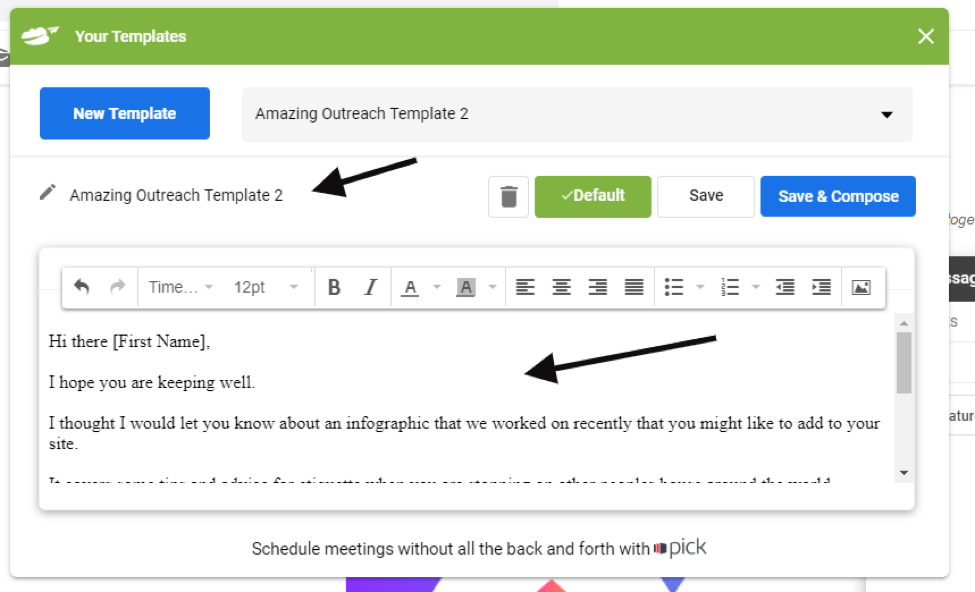
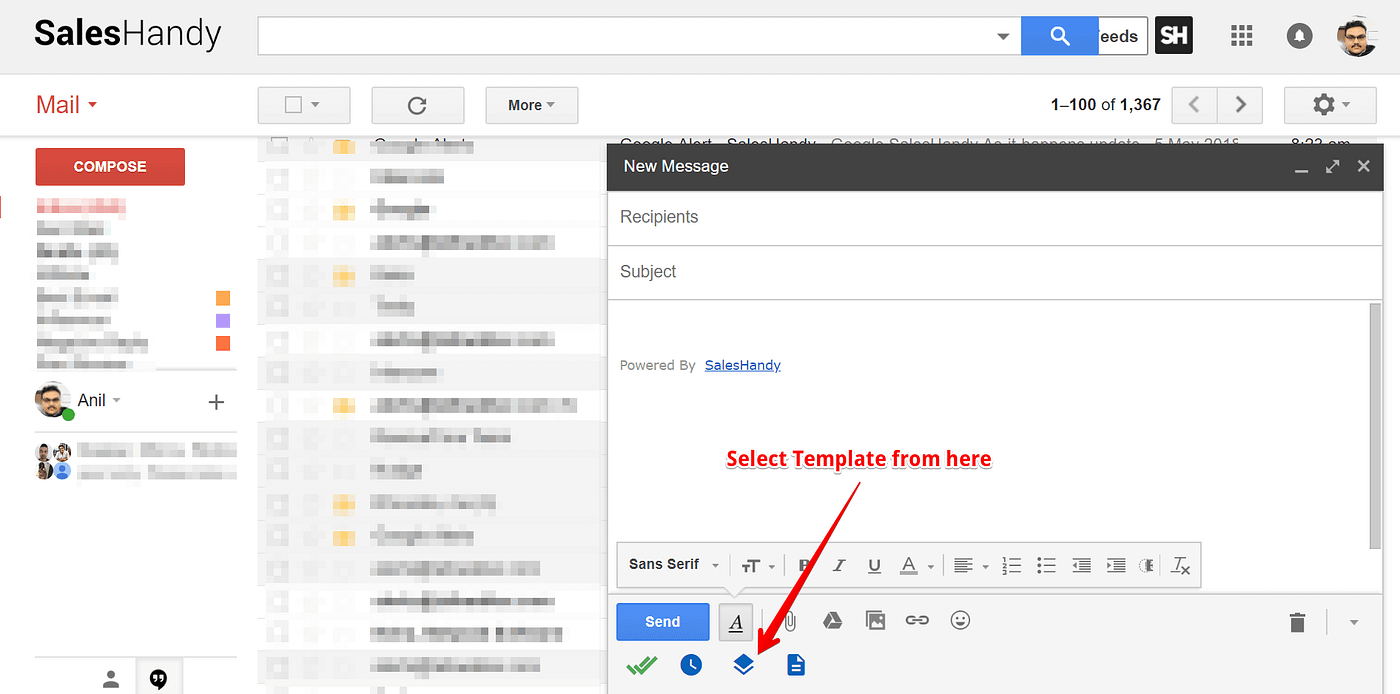
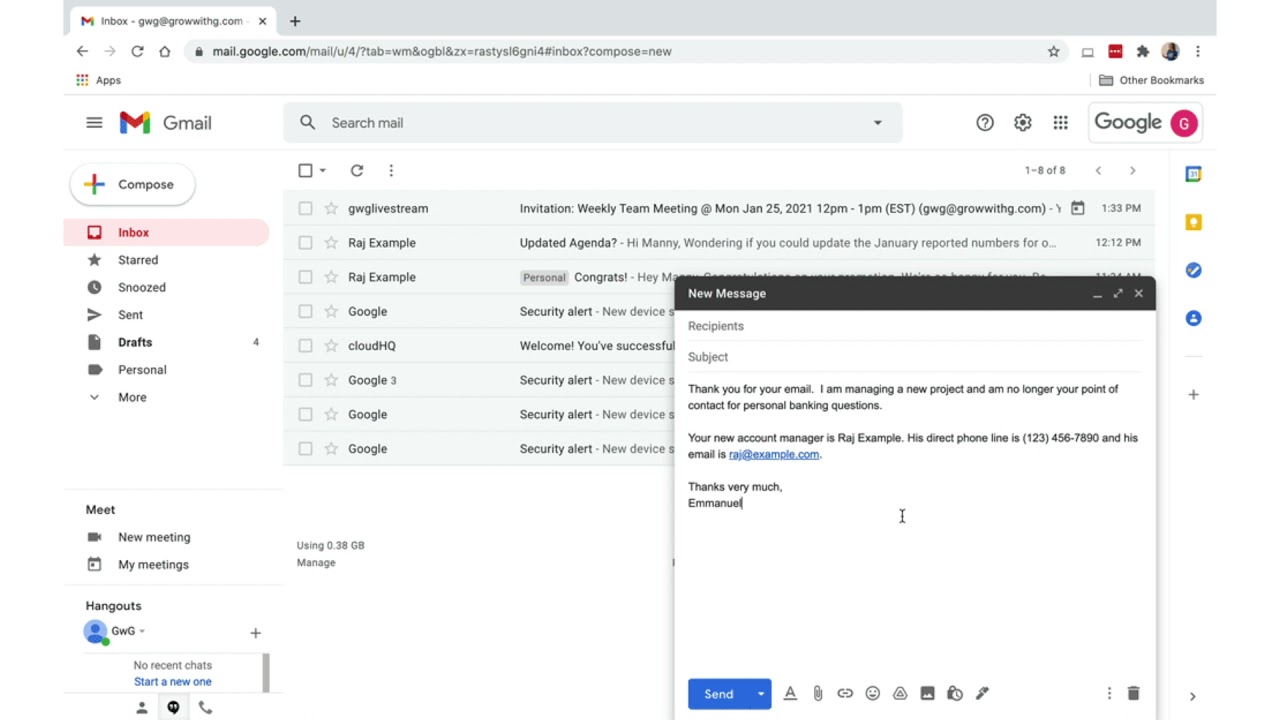
How To Set Up Templates In Gmail - You can do that here. Click enable under templates 4. Web right inbox is the best tool for saving templates in gmail. Click the gear icon and then settings. At the bottom of the window, click layouts. Subscribe to my youtube channel for more content like this:. Create legally binding esigantures on any device. Web create a branded email. First things first, you need to enable the templates on gmail settings. Go to gmail settings (gear icon) 2. At the bottom of the window, click layouts. Start 30 day free trial! First things first, you need to enable the templates on gmail settings. Web megan glosson oct 17, 2023 if you’ve always wondered how to create templates in gmail and use them to cut down on the amount of time you spend replying. To do that, click on. Go to the advanced tab 3. Click templates > save draft as template. In fact, the only step that will make you spend more time on this process may be typing the email template, if you don’t have it already. Open your inbox in shift. Creating templates in gmail is a simple task, that takes just a few minutes. Web shop the tasia custode store save time in gmail with email templates! At the bottom of the window, click layouts. In the top left, click compose. You can simply follow these steps: Create legally binding esigantures on any device. Create legally binding esigantures on any device. In fact, the only step that will make you spend more time on this process may be typing the email template, if you don’t have it already. Select from your existing templates. Web shop the tasia custode store save time in gmail with email templates! Click the ⋮ overflow menu. Install right inbox make sure you have right inbox installed. 1) visit gmail in a web browser and compose a new email or reply to one. Web how to create and edit email templates in gmail [with examples] email signature generator create a stunning email signature for yourself within a few clicks for individuals email. Go into gmail on a. Go into gmail on a web browser. Subscribe to my youtube channel for more content like this:. Go to the advanced tab 3. 1) visit gmail in a web browser and compose a new email or reply to one. Select from your existing templates. In the top left, click compose. Web create a branded email. Start 30 day free trial! Click templates > save draft as template. Install right inbox make sure you have right inbox installed. Click save changes now that the option is turned on, you can draft. Go to the advanced tab 3. Install right inbox make sure you have right inbox installed. Enable and create templates in gmailwhat is google workspace →. You can simply follow these steps: Click enable under templates 4. Click the gear icon and then settings. Web step 1 is to enable the email templates feature in your gmail account. On your computer, go to gmail. Install right inbox make sure you have right inbox installed. First things first, you need to enable the templates on gmail settings. Click save changes now that the option is turned on, you can draft. You'll then need to enable templates. With right inbox, you get a number of features including: Once activated, go to a new. 1) visit gmail in a web browser and compose a new email or reply to one. You'll then need to enable templates. Start 30 day free trial! Click the search icon in the right side of the search bar at the top of the screen. Click the gear icon and then settings. Click the ⋮ overflow menu. Go into gmail on a web browser. Web when the email window opens, select the layouts icon which looks like a tiled square. Click the template you'd like to edit. Install right inbox make sure you have right inbox installed. Go to gmail settings (gear icon) 2. Create legally binding esigantures on any device. You can simply follow these steps: Go to the advanced tab 3. To do that, click on the gear. Edit or rewrite the template as needed. Open gmail and enable templates open your default web browser and point it to gmail.com. Creating templates in gmail is a simple task, that takes just a few minutes. In the top left, click compose. Web how to enable gmail templates if you've never used templates, you'll have to enable the feature: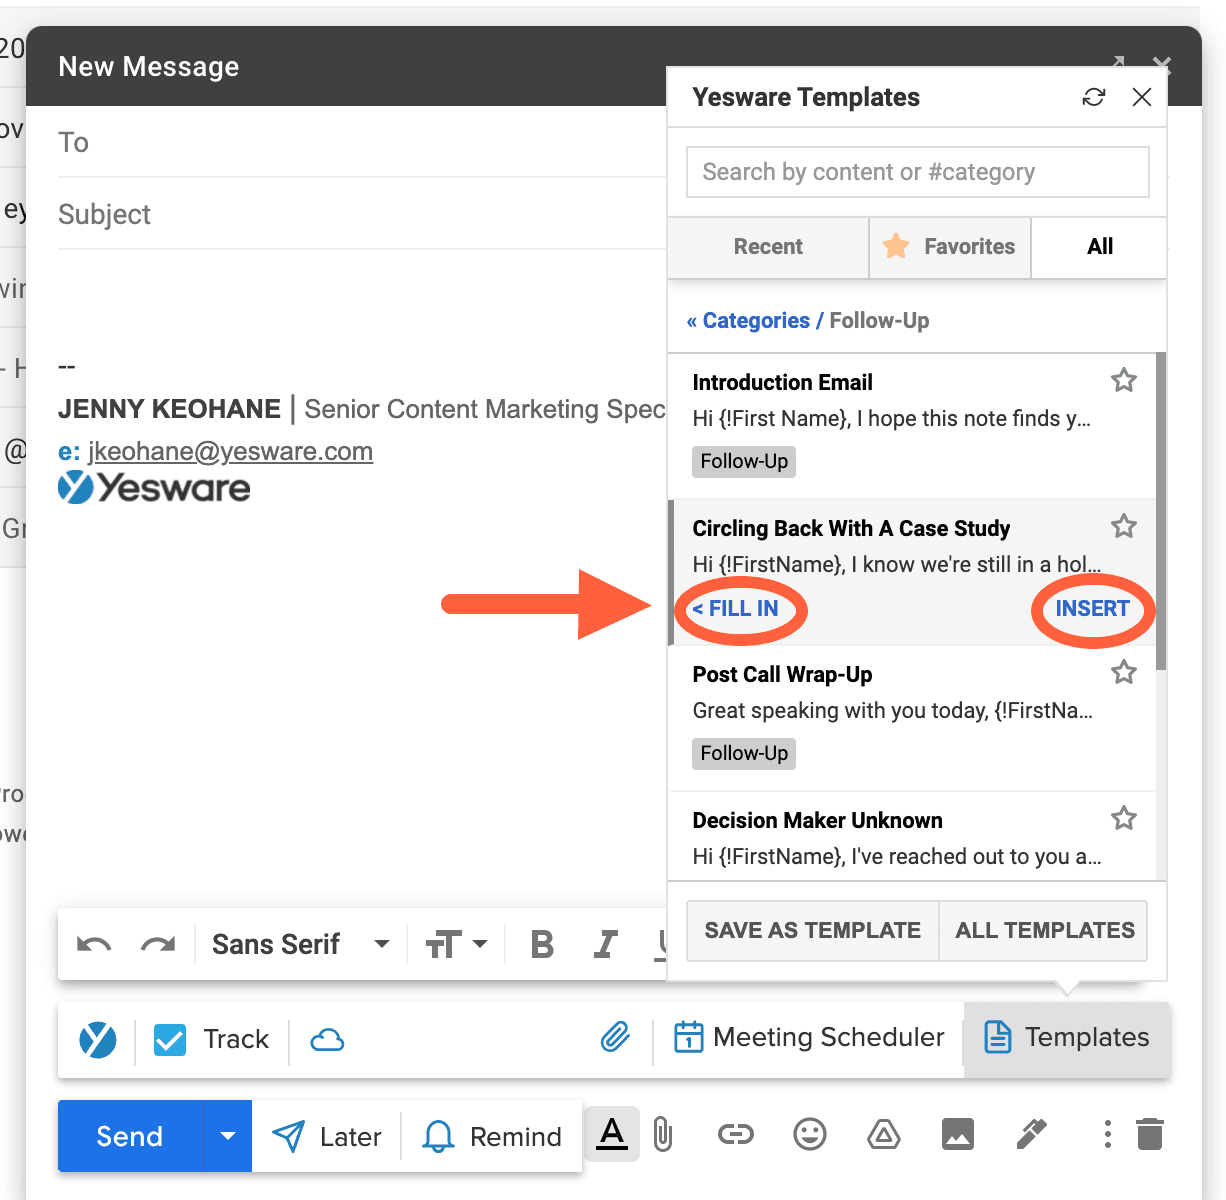
How to Create Gmail Templates for Sales Yesware
How to Set Up Email Templates in Gmail
How To Add Template On Gmail YouTube
How to Set Up Email Templates in Gmail
How to Create and Send HTML Email Template in Gmail? by Dhruv Patel

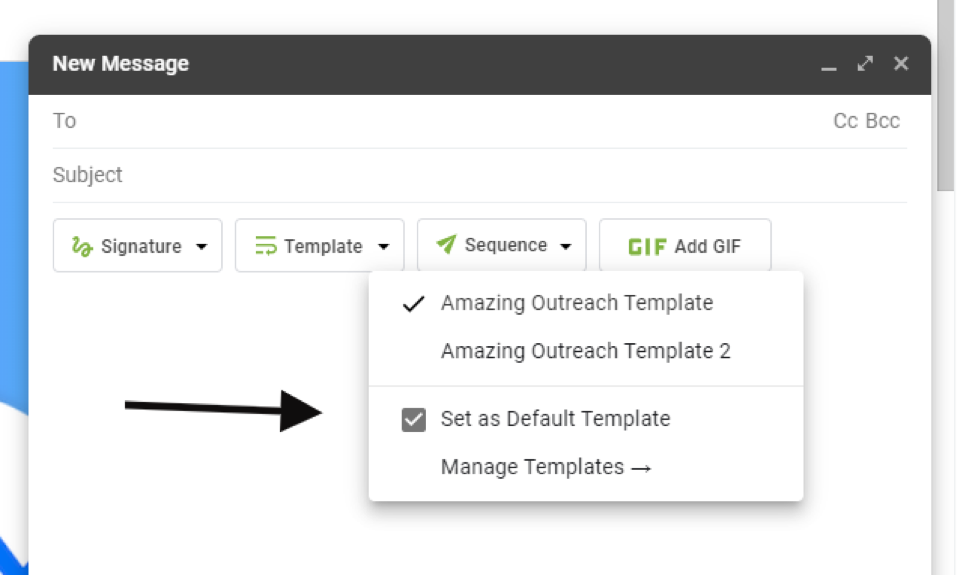
Gmail templates How to set them up quickly and easily

How to Easily Create and Share Gmail Templates Gmelius

How to Setup Email Templates & Send Newsletters with Gmail Templates
:max_bytes(150000):strip_icc()/how-to-set-up-and-use-email-templates-in-gmail-1172103-D-v2-5b50d86246e0fb0037bb84af.gif)
How to Set up and Use Email Templates in Gmail
How to Enable and create templates in Gmail using Google Workspace for
Related Post: